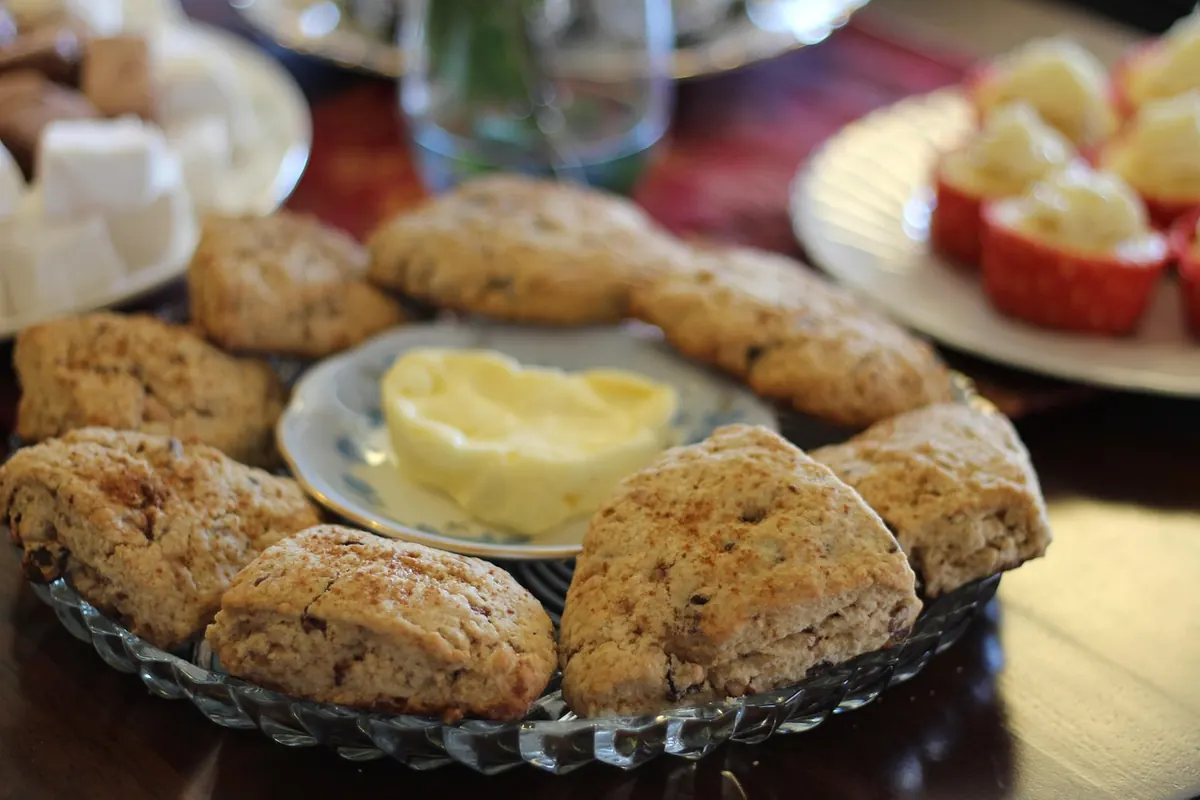
Ask two bakers why their scones turn out differently and you will get two confident, contradictory answers. One cuts cold butter into the flour until the mixture looks like coarse sand. The other pours in heavy cream, stirs with a fork, and never touches a pastry blender. Both end up with something worth eating with jam. But if tenderness is the goal — a crumb that gives way without a fight — the fat and the liquid make most of that decision before your hands even get involved.
Here is how the two styles actually work, where each one wins, and how to choose on a Saturday morning when the kettle is already on.
A classic butter scone starts with 2 cups of all-purpose flour, 1 tablespoon of baking powder, a pinch of salt, a spoonful of sugar, and 4 to 8 tablespoons of cold butter. The liquid — milk, buttermilk, or a mix — comes last, usually ¾ cup to 1 cup, added just until the dough holds together.
A cream scone keeps everything but the butter. Same flour, same leavening, same salt. Then 1¼ to 1½ cups of heavy cream does the work of both fat and liquid, because cream is roughly a third butterfat and the rest water and milk solids.
That single swap changes the mixing method, the texture, and how forgiving the dough feels under your hands.
When you cut cold butter into flour, you are not blending it in. You are leaving flattened flakes coated in flour. In the oven those flakes melt, the water inside them turns to steam, and the dough around them separates into layers. That is where a butter scone gets its flake and its slightly crisp top.
The catch is temperature. If the butter softens while you work, it smears into the flour instead of staying in shards. You lose the layers, the dough turns greasy, and the baked scone can come out flat and chewy. Butter scones reward speed and a cold kitchen.
Cream arrives already emulsified, its fat broken into tiny droplets suspended in water. Stir it into flour and the fat distributes itself far more finely than any pastry blender can manage. There are no big pockets of steam, so you get fewer dramatic layers — but you also get a tighter, cakier crumb that feels tender across the whole bite rather than only where a flake happens to be.
Cream also brings less water to the party than milk does. Less water means less gluten development, and less gluten means a softer, shorter crumb. It is the main reason cream scones feel so gentle on the tongue even when the dough is barely handled.
Fat gets the attention; liquid quietly decides how the dough behaves.
Temperature matters as much as the type. Cold liquid keeps whatever fat you are using firm, whether that is butter shards or the fat in the cream. Room-temperature liquid starts melting things early, and the dough turns sticky and hard to shape.
If you bake both recipes on the same morning with the same flour and the same oven, here is roughly what you will notice.
On pure crumb texture, cream takes it. The fat is dispersed so finely and the dough is manipulated so briefly that gluten has little chance to tighten up. You get a scone that almost collapses when you bite it, in the good way.
But "tenderest" and "best" are different questions. A butter scone made with cold, well-handled butter is tender and flaky, with a savory depth cream alone cannot replicate. If you want a scone to split and stack with clotted cream and jam, butter is the one. If you want something soft and short to carry blueberries, chocolate, or a lemon glaze, cream is the safer bet.
There is also a hybrid worth knowing: freeze a stick of butter, grate it on the large holes of a box grater into your flour, then add cream instead of milk. You get the shards and the rich liquid, and the dough comes together with barely any mixing. It is a good default when you want both.
Whichever fat you choose, these habits matter more than the recipe card.
If you have never compared the two, bake them side by side once. Same flour, same oven, same add-ins, one batch with butter and milk, one with cream. Notice which one you reach for second. That is your answer.
For everyday baking, cream scones are the easier path to a reliably tender crumb. Keep a carton of heavy cream in the fridge and you can have a tray in the oven in twenty minutes. Save the butter version for mornings when you have time, a cold counter, and a craving for flaky layers. Neither is the wrong choice — they are just two different kinds of good.
Photo: HomeMaker / Pixabay

Adapt any scone recipe to seasonal fruit and herbs by adjusting liquid, sugar, and technique — with pairing ideas, a...

A savory scone formula built on sharp cheddar, chives, and black pepper, plus a mix-in ratio for building your own...

Freeze shaped scone dough and bake it straight from the freezer for a taller, flakier rise. Here is how to wrap,...

Cozy scones and quiet moments..
